Huckleberries are an Idaho favorite, and in previous segments of “You Can Grow It,” our garden master Jim Duthie has shown us a variety of garden huckleberries that you can grow at home. Today, he’s harvesting his own crop of huckleberries and showing us what you can do with them.
And since outdoor gardening is coming to an end, you may be wondering how you’re going to keep your green thumb in shape through the winter. Jim has some great ideas to show you on how to move your garden indoors and have fresh herbs right in your kitchen.
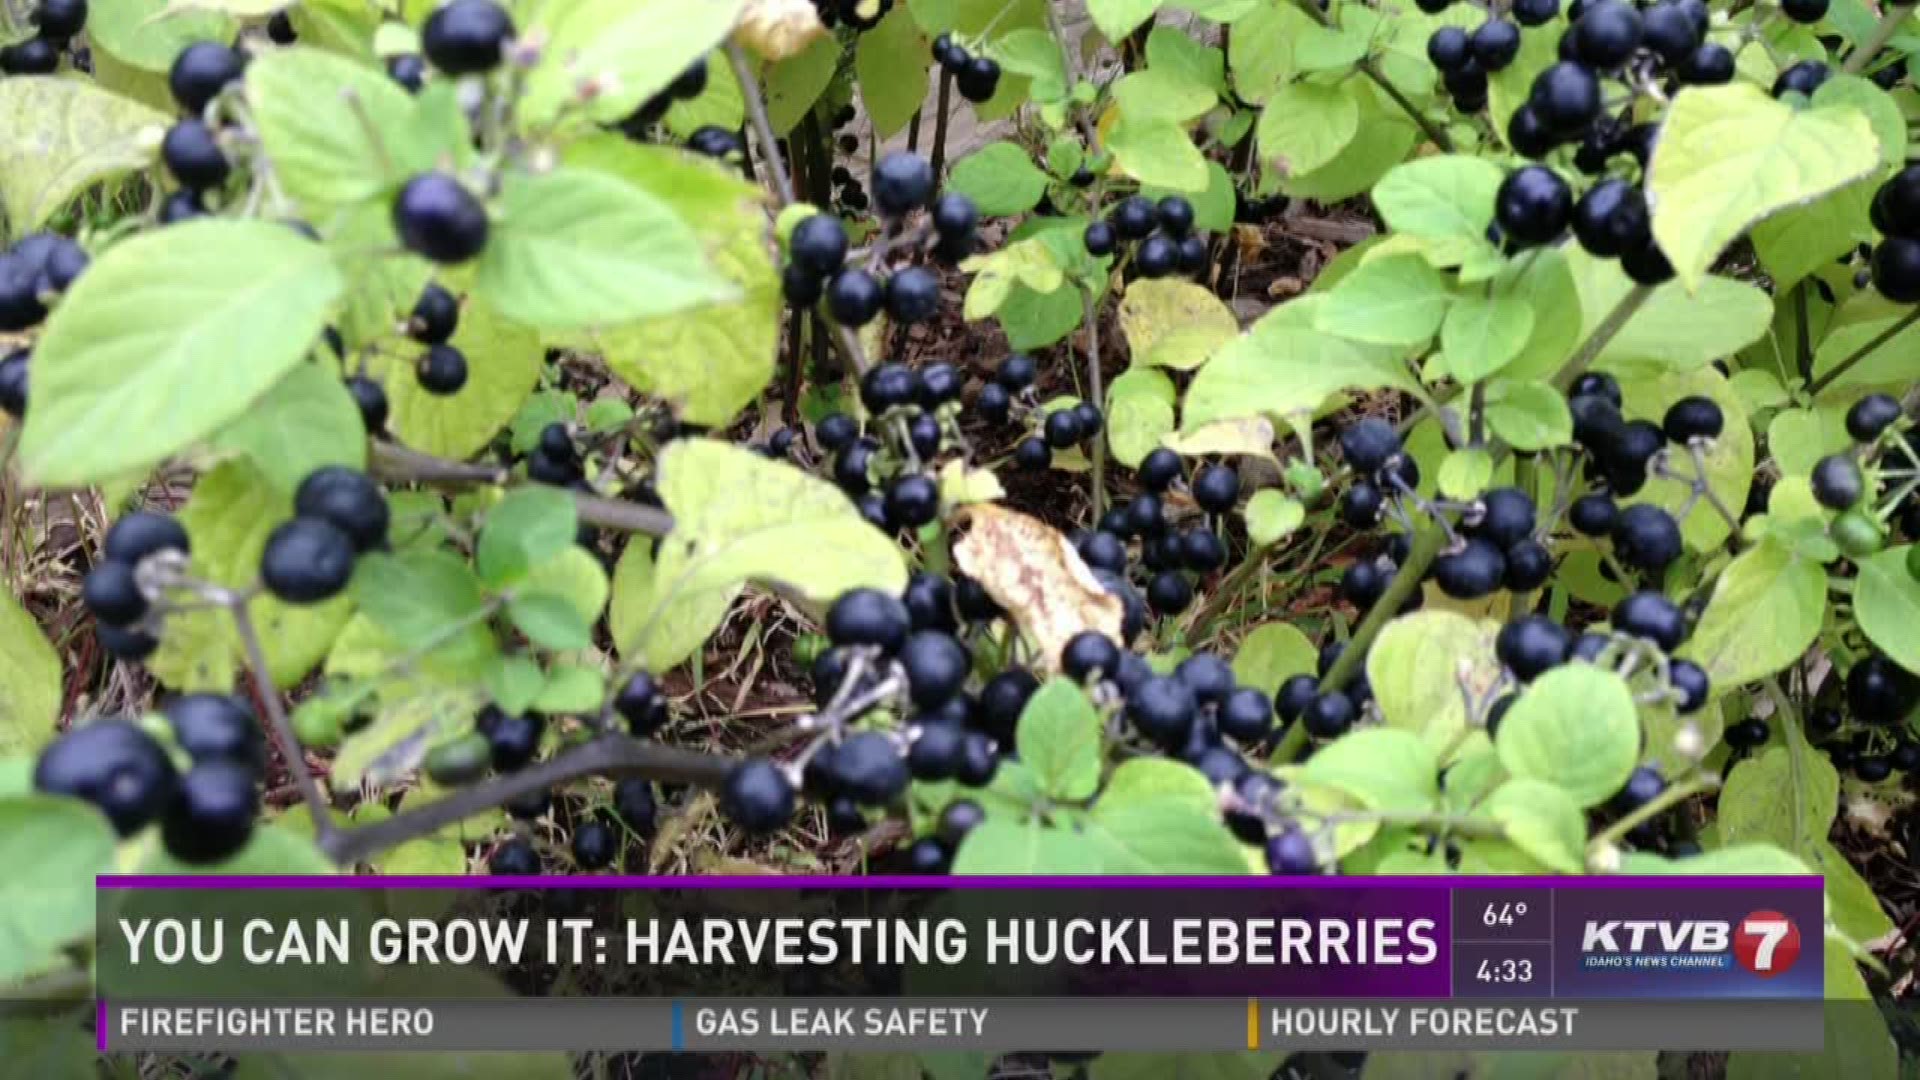
Of all the different subjects I’ve covered on “You Can Grow It” over the years, one of the most popular features has been these garden huckleberries. I’m always getting requests for more information on where to find the seeds and how to grow them. And now it’s time to harvest these little purple berries for some sweet treats that will last into the winter.
I get my garden huckleberry seeds from one of my favorite seed catalogs, the seed savers exchange. Most garden stores don’t sell the seeds, so you probably won’t be able to find them locally.
After starting the seeds indoors in the early spring, I transplant them into the garden when the danger of frost has past. Unlike the wild mountain huckleberries, these are annuals, so you have to replant them each spring. But they’re easy to grow – just water them regularly, and soon you’ll have bushy green plants loaded with plump green berries that will turn a glossy black by late summer.
When the weather cools down and we get close to the first frost, it’s time to harvest the berries. Since the plants won’t survive the winter, either pull them up by the roots, or cut them off close to the ground to make harvesting the berries easier.
The berries are juicy, so you’ll want to wear some latex gloves, or else you’ll end up with purple fingers. Pluck the berries gently, making sure to remove as many of the stems as possible. It takes a little time to collect all the berries, but soon you’ll end up with a bowl full that are ready to use.
Gently wash the berries in cool water. Remove any remaining stems or green berries.
The berries don’t have much flavor when they’re raw, but once you add sugar or other sweetener, it will magically bring out that delicious huckleberry flavor.
I usually let the berries dry after washing them, and then put them in baggies and freeze them whole. That way we can use them later for jam or syrup, or in breads and pancakes.
If you haven’t grown these garden huckleberries before, I think you’ll find that they’re every bit as good as the harder-to-get wild ones, and they’re a lot of fun to grow. If you’re going to make huckleberry jam or jelly or syrup, just follow your favorite recipe.
Now that my outside garden is pretty much done for the year, I’m looking for ways to do some gardening indoors during the cold winter months. And one of the easiest things to grow indoors is herbs.

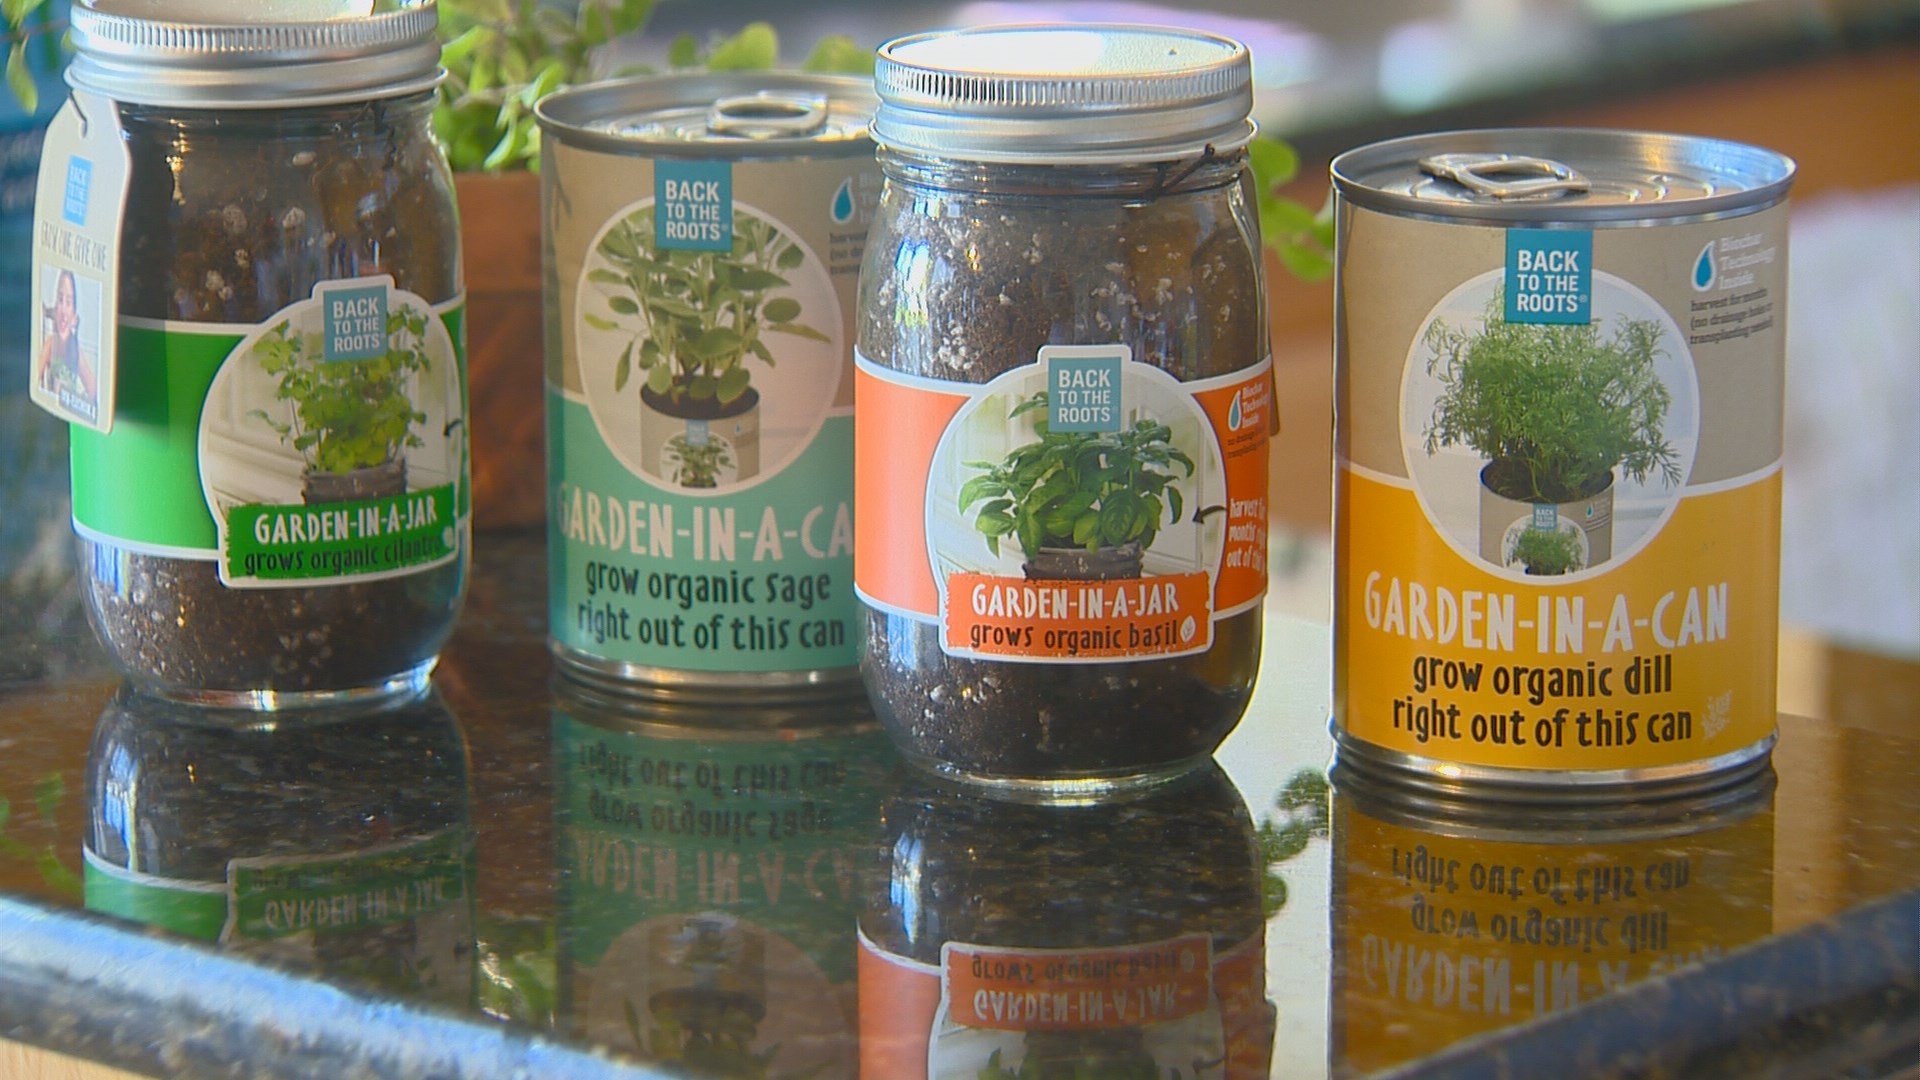
Several companies offer indoor gardening products that you can find in local garden centers and home improvement stores, such as garden-in-a-jar or garden-in-a-can from back to the roots. Here we have a variety of herbs, from cilantro and basil in the jars, to dill and sage in the cans.
The process is simple enough – just open the jar or the can, which contains the planting mix and the seeds.
Then add a little water according to the directions, and then sprinkle the herb seeds on top.
Set the container in a somewhat sunny, warm place, keep it watered, and watch it grow. The kitchen window sill is a great place, since it will be convenient to clip some fresh herbs when you’re cooking dinner.
You can easily make your own indoor herb garden with some mason jars, some potting mix, and some herb seeds.
I use a quart-size mason jar, and put some small rocks or gravel in the bottom of the jar to keep the roots from being damaged by too much water. Then I’ll add some potting mix to within and inch or two of the top of the jar. Sprinkle the herbs seeds on top of the potting mix, and cover them with about an inch of additional potting mix and water it lightly.
If you’ve been growing herbs in your outdoor garden, or if you can find some herb plants at the store, you can transplant them into a jar.
Be sure to label the jars so you remember what you planted. Put them in a location that gets about six hours of sunlight a day, although it doesn’t have to be direct sunlight. Water regularly, but don’t overwater. The great thing about these mason jar gardens, is that you can move them around when you need the space or as sunlight changes through the winter.
In no time at all you’ll be enjoying fresh herbs, right in your kitchen. It’s also something fun you can do with the kids.
Garden Huckleberry Jam
Prep time: 10 min. Cook time: 1 hr. 15 min. Total time: 1 hr. 25 min.
Ingredients:
• 2 pounds (8-10 cups) ripe garden huckleberries
• 3 cups sugar
• 1 package pectin
• Juice of 1 lemon (or 2 Tblsp bottled lemon juice)
• ¼ cup water
Instructions:
1. Sterilize canning jars and screw lids by boiling them for at least 15 minutes (*don't boil the flat lids that actually go on the top of the jar or you'll remove the gum/adhesive seal).
2. Sort through your garden huckleberries to remove any stems. Then rinse them in a strainer.
3. Put berries and ¼ cup of water in a large pot over medium heat. (The water is added to prevent the fruit from scalding or sticking to the bottom of the pan.) Bring slowly to a boil and allow to boil about 20 minutes to reduce water content.
4. Add lemon juice. Boil for an additional 40 minutes. Many of the garden huckleberries will still have maintained their shape/form, so you might want to "mush" them a bit here. A potato masher works great.
5. Add pectin and bring back to a full rolling boil, stirring until all of the pectin has dissolved.
6. Add sugar to the boiling garden huckleberries and stir until completely dissolved (only takes a few minutes). Remove from the heat.
7. Ladle huckleberry preserves into your sterilized, hot jars. You'll want to leave room for expansion, about ¼" between the top of your preserves and your jar lid. Dip each lid into the boiling water for about 10-15 seconds. Place lid on top of jar, and screw on rings—not tight, you want them to have a bit of give.
8. Boil jars with preserves in them for 15 minutes, making sure the water is at least 1-2" over the top of the lid so that air bubbles out of the jars.
9. Remove jars from boiling water and place them on heat-proof countertop or stove top. Each jar should make a single "pop" sound shortly after being removed from boiling water, indicating that it has sealed. The lid will also indent downward. If a jar does not seal, place back in boiling water for 5 more minutes and repeat the process. Do NOT eat unsealed preserves. If you can't get your jars to seal or don't feel like going through the steps above, freeze them or refrigerate them.
Garden Huckleberry Syrup
• 1 ¼ cup garden huckleberry juice (mash huckleberries and strain the juice to remove seeds)
• 1 ¾ cup sugar
• 1 Tblsp lemon juice
1. Mix juice and sugar in a large pan. Bring mixture to rolling boil. Continue to boil 1 minute.
2. Remove the syrup from heat and skim off any foam. Pour the syrup into clean, hot jars, following the manufacturer’s directions for sealing the jars. Or keep the syrup in the refrigerator. Refrigerate any opened jars of syrup.
3. This recipe produces a fairly thin syrup. For a thicker syrup, use 1 ½ cups sugar and ¼ cup of corn syrup in the recipe. Do not add more sugar or boil longer to thicken the syrup as it will cause jelling to occur.

