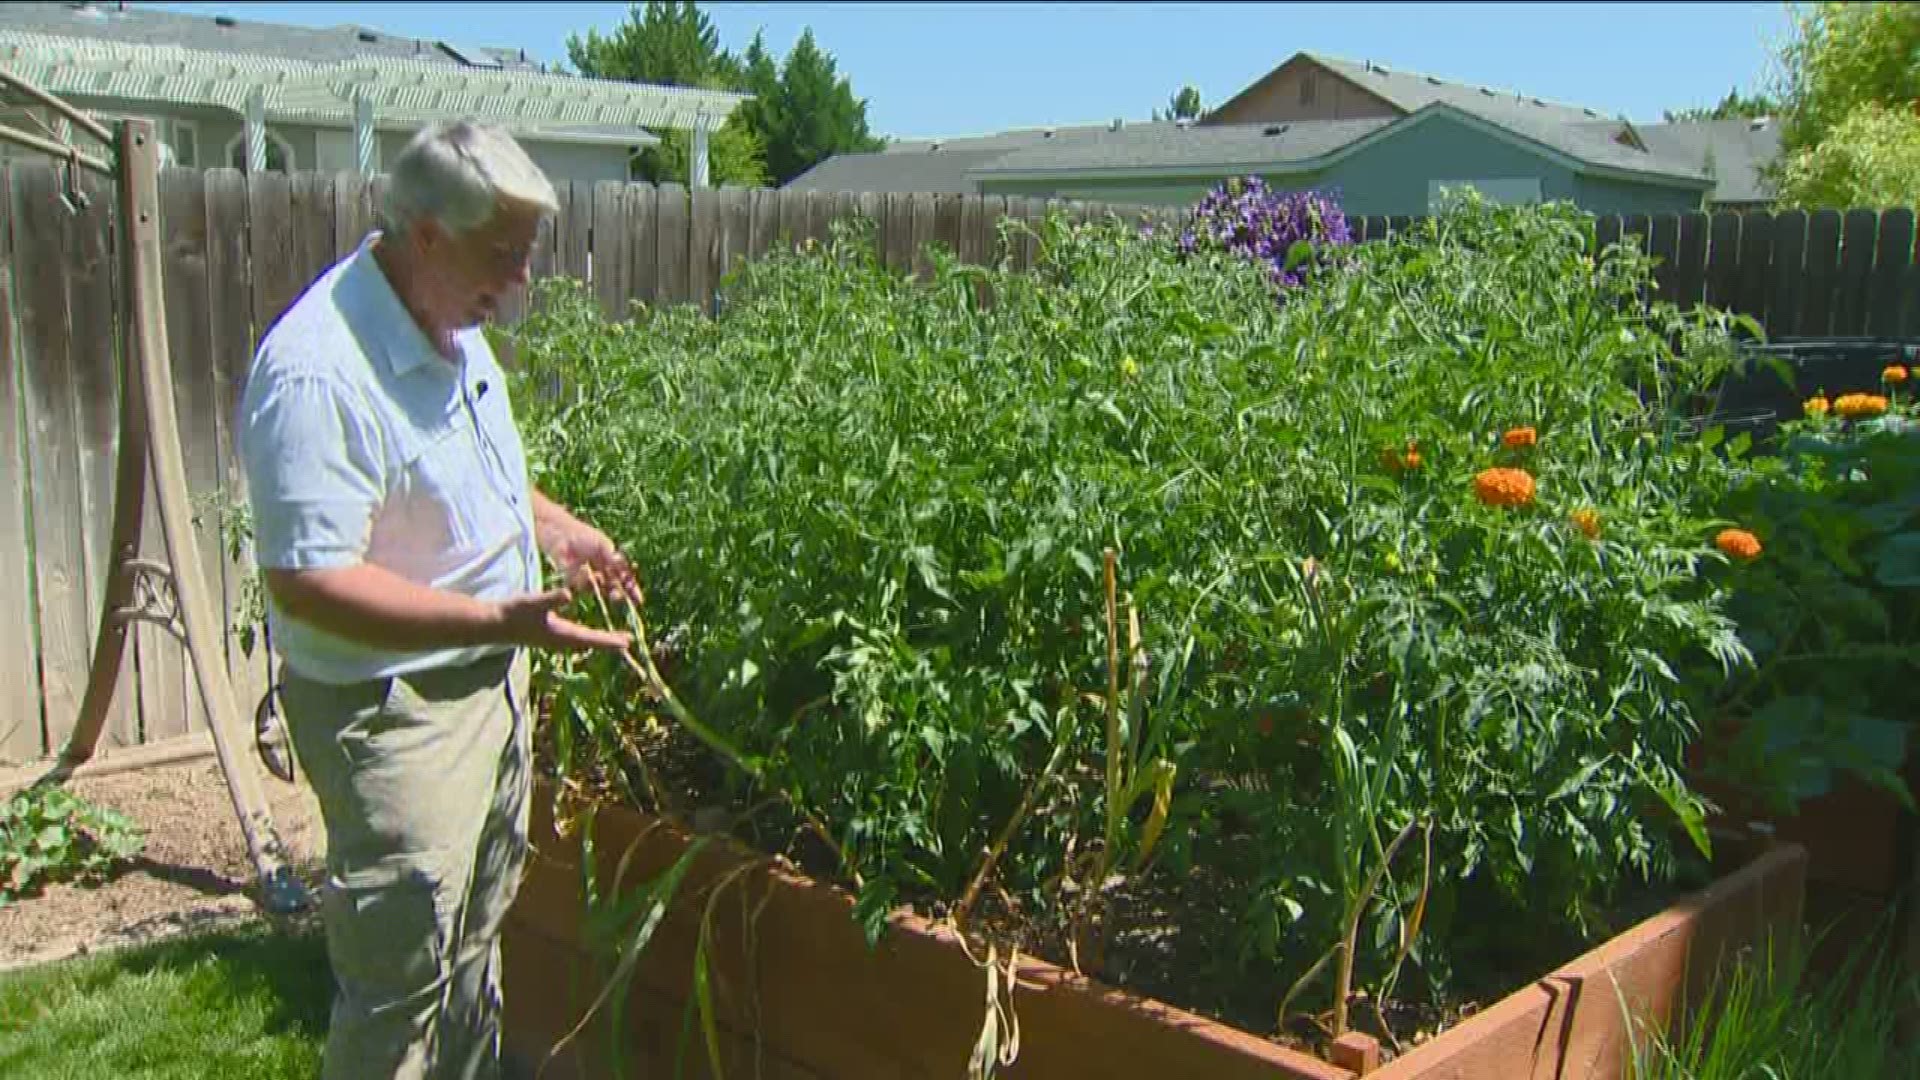
BOISE, Idaho — Most of our vegetable gardens have the usual kinds of things – tomatoes, beans, cucumbers and squash, but have you ever grown garlic?
Garden master Jim Duthie shows us his first attempt at growing garlic in his garden, and he says it was so easy, he’s hooked, and he’ll be growing it from now on. And you can grow it, too.
I’ve been growing a garden for many years, but this is the first time I’ve ever grown garlic. And I have to say, it’s one of the easiest things I’ve ever grown. You plant it in the fall, when the rest of the garden is done for the season. I planted this garlic last October, and then I just let it go for the winter. In the spring, as the green leaves shot up, I just weeded it and watered it. And now that the leaves are drying out, I know it’s ready to harvest.
There are two types of garlic: the hard-neck variety has a stiff stem and typically has larger bulbs. It’s the kind most chefs and professional cooks use because of its intense flavor, but it has a shorter shelf life.
The soft-neck variety of garlic has a softer, more pliable stem. It’s what you usually find in the grocery store, and it lasts longer in storage.
It’s illegal to plant grocery store garlic here in Idaho, because of the risk of a fungal disease called white rot, that could be devastating to Idaho’s garlic and onion industry. So make sure you buy only certified garlic seed stock locally or online.
I planted this soft-neck garlic along the edge of my flower bed last fall, and then in the spring I planted my tomatoes in the rest of the bed. The tomatoes are starting to take over, but that’s okay, because the garlic is ready to come out.
Garlic is ready to harvest when the leaves have turned yellow and brown, and they dry out and wilt. I already lifted one of the garlics to make sure it’s ready to harvest. It’s good-sized with lots of cloves, and covered with a papery skin. So I know the rest are ready to pick, too.
When you harvest your garlic, don’t just pull it up by the stem, or it might detach from the bulb. Instead, loosen the soil, being careful not to damage any of the bulbs. Then gently left them from the soil.
Once you’ve dug them all up, it’s time to let them cure. Curing allows the energy from the leaves go into the bulbs as they dry. Properly cured garlic can last several months in storage.
Gently clean off some of the dirt, keeping the bulbs dry, and be careful not to bruise or damage the bulbs.
Some gardeners like to braid the leaves together into a garlic string to hang while it cures. But if you don’t have very much, you can spread them out where there’s good air circulation and they’re protected from the sun and moisture.
I’m just going to tie my garlic together in small clusters to hang up to dry.
Take 4 to 8 of the garlic plants and carefully tie the stems together with some twine, leaving a little extra to hang it up with.
Put them in a shaded, dry, well-ventilated shed or garage for about 2 to 4 weeks. The outer covering of the bulbs will dry out, making a protective cover for the soft cloves inside. Once the papery skins are dry, you can trim off the roots and the stalks.
After they’ve dried, you can bring them inside. If you have some, mesh bags will allow good air circulation.
After it’s been properly cured, you’re ready to use your home-grown garlic in all of those delicious garlic-flavored dishes that you love. I’m going to set aside a couple of the biggest and best bulbs to use as seed stock this fall to plant next year’s crop of garlic. And if you haven’t done it before, give growing garlic a try this fall. I think you’ll find that it will become a permanent addition to your garden from now on.
You can find certified disease-free garlic seed stock at many local nurseries and garden stores, as well as from certified seed companies in catalogs and online.
Watch more You Can Grow It:
See them all in our YouTube playlist here:

